

 Chat on WhatsApp
L298N Motor Driver Module Guide: Control Two DC Motors or a Stepper with Arduino
How the L298N dual H bridge motor driver controls the speed and direction of two DC motors or one stepper motor from an Arduino. Pins, wiring, the 5V regulator jumper and robot car projects.
2 min readBy the module.pk teamاردو میں پڑھیں ↓
Browse all 1 Motor Drivers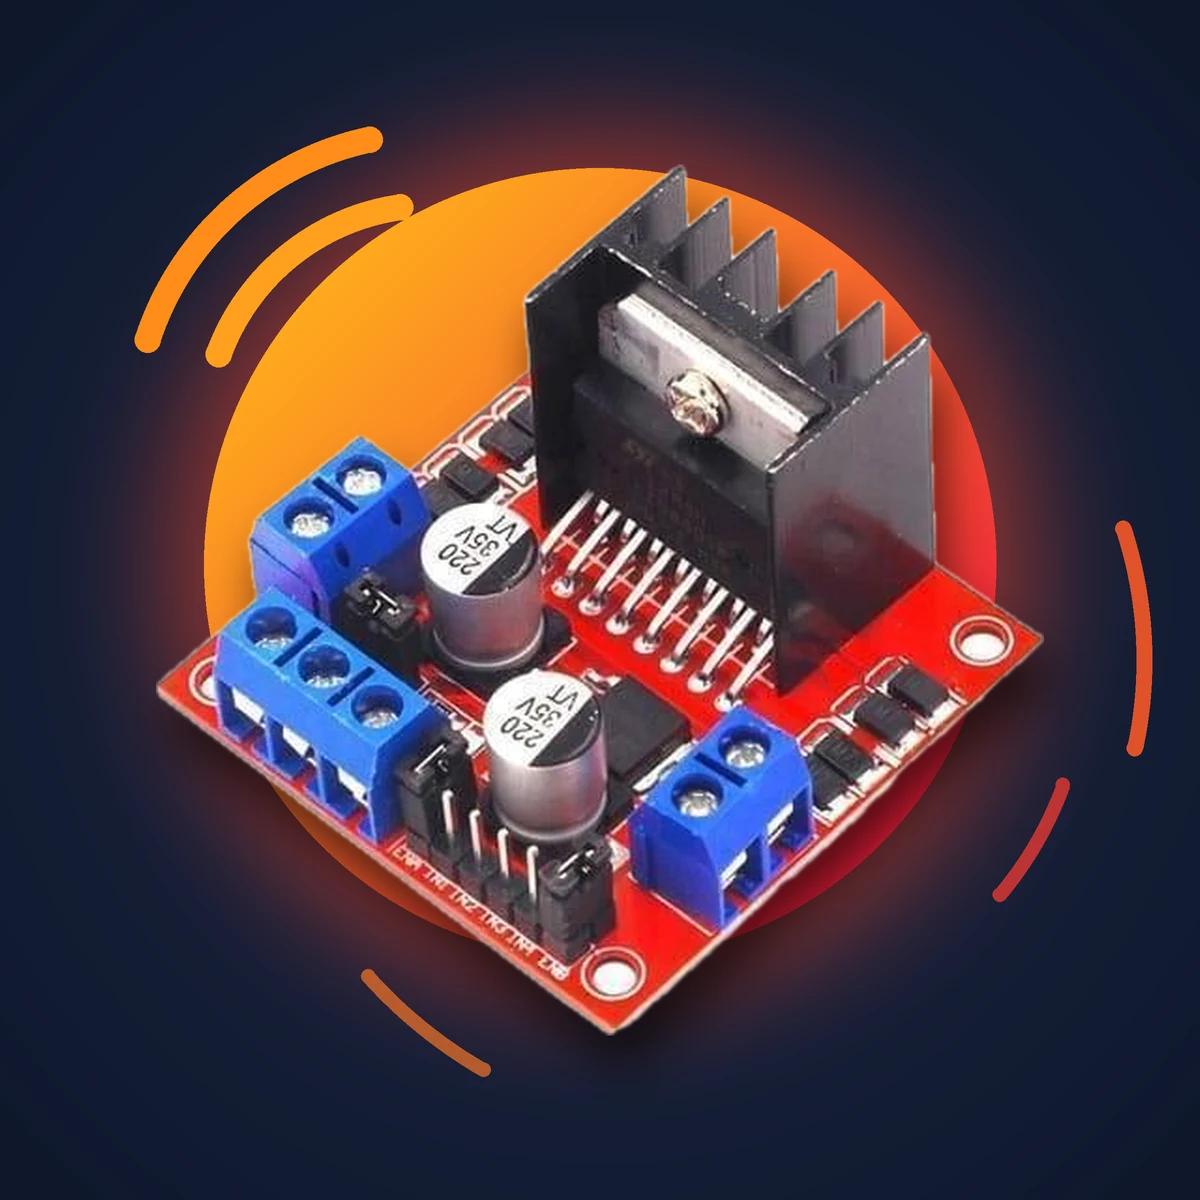
The L298N motor driver is the module behind almost every Arduino robot car. It lets a microcontroller control the speed and direction of two DC motors, or one stepper motor, at currents and voltages far beyond what an Arduino pin can handle.
Find it on our motor drivers page.
What an H bridge does
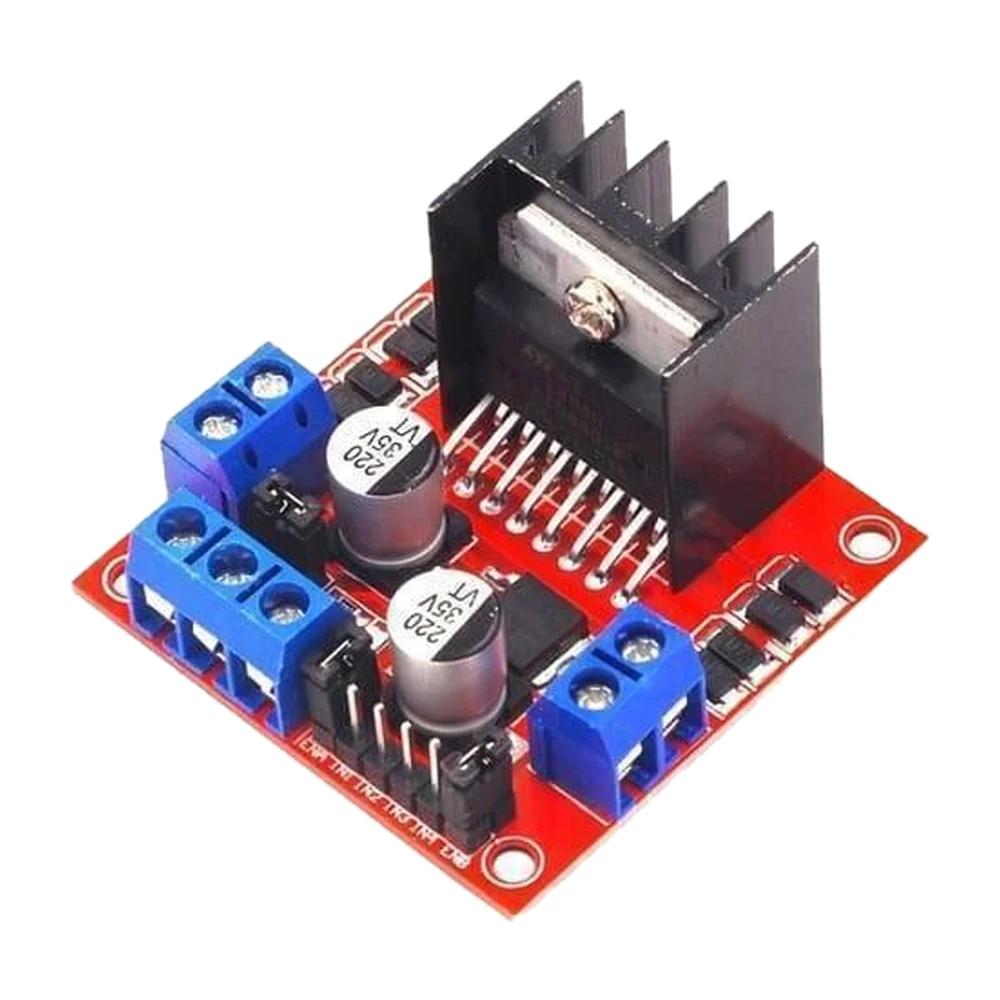
To reverse a DC motor you have to reverse the current through it. An H bridge is four switches arranged like the letter H around the motor, so closing one diagonal pair runs it forward and the other pair runs it backward. The L298N contains two H bridges, one for each motor, and a heatsink to carry away the heat.
L298N pins and wiring
- OUT1 and OUT2: motor A. OUT3 and OUT4: motor B.
- 12V (motor supply) and GND: battery for the motors, commonly 7V to 12V. Join GND with the Arduino GND.
- 5V: with the regulator jumper fitted and a motor supply of 12V or less, this pin can power the Arduino.
- IN1 to IN4: direction inputs from Arduino pins.
- ENA and ENB: remove the jumpers and connect to Arduino PWM pins to control speed with analogWrite().
Build a simple robot car
- Mount two DC gear motors and a caster wheel on a chassis.
- Connect the motors to OUT1 to OUT4 and a battery pack to the 12V input.
- Wire IN1 to IN4 and ENA, ENB to an Arduino Uno.
- Add an HC-SR04 ultrasonic sensor for obstacle avoidance or an HC-05 Bluetooth module for phone control.
Filter motor drivers on module.pk
Our motor drivers page filters by driver chip, such as the L298N, by motors driven, current per channel and whether the driver can drive stepper motors, with motor voltage, logic voltage and onboard 5V regulator details on every listing.
Frequently asked questions
How much voltage does the L298N lose?
The L298N drops roughly 2V across its switches, so motors receive a little less than the battery voltage.
Can the L298N drive a stepper motor?
Yes, a bipolar stepper uses both H bridges, one per coil.
اردو میں
L298N موٹر ڈرائیور ماڈیول گائیڈ: Arduino سے دو DC موٹر یا ایک سٹیپر موٹر چلائیں
L298N موٹر ڈرائیور تقریباً ہر Arduino روبوٹ کار کے پیچھے ہے۔ یہ مائیکرو کنٹرولر کو دو DC موٹر یا ایک سٹیپر موٹر کی رفتار اور سمت کنٹرول کرنے دیتا ہے، اس کرنٹ اور وولٹیج پر جو Arduino کی پن نہیں دے سکتی۔
یہ ہمارے motor drivers پیج پر ہے۔
H برج کیا کرتا ہے
DC موٹر الٹی چلانے کے لیے اس میں کرنٹ الٹا کرنا پڑتا ہے۔ H برج چار سوئچ ہیں جو موٹر کے گرد H کی شکل میں لگے ہوتے ہیں، ایک ترچھی جوڑی بند کریں تو موٹر آگے، دوسری بند کریں تو پیچھے۔ L298N میں دو H برج ہیں، ہر موٹر کے لیے ایک، اور گرمی نکالنے کے لیے ہیٹ سنک۔
L298N کی پنیں اور وائرنگ
- OUT1 اور OUT2: موٹر A۔ OUT3 اور OUT4: موٹر B۔
- 12V (موٹر سپلائی) اور GND: موٹروں کی بیٹری، عام طور پر 7V سے 12V۔ GND کو Arduino کے GND سے جوڑیں۔
- 5V: ریگولیٹر جمپر لگا ہو اور موٹر سپلائی 12V یا کم ہو تو یہ پن Arduino کو بجلی دے سکتی ہے۔
- IN1 سے IN4: Arduino پنوں سے سمت کے ان پٹ۔
- ENA اور ENB: جمپر نکال کر Arduino کی PWM پنوں سے جوڑیں تاکہ analogWrite() سے رفتار کنٹرول ہو۔
سادہ روبوٹ کار بنائیں
- چیسس پر دو DC گیئر موٹر اور ایک گھومنے والا پہیہ لگائیں۔
- موٹروں کو OUT1 سے OUT4 اور بیٹری پیک کو 12V ان پٹ سے جوڑیں۔
- IN1 سے IN4 اور ENA، ENB کو Arduino Uno سے جوڑیں۔
- رکاوٹ سے بچنے کے لیے HC-SR04 الٹراسونک سینسر یا فون سے چلانے کے لیے HC-05 بلوٹوتھ ماڈیول لگائیں۔
module.pk پر موٹر ڈرائیور فلٹر کریں
ہمارا motor drivers پیج ڈرائیور چِپ، جیسے L298N، کتنی موٹر چلاتا ہے، ہر چینل کا کرنٹ اور سٹیپر موٹر چلا سکتا ہے یا نہیں سے فلٹر کرتا ہے، اور ہر پارٹ پر موٹر وولٹیج، لاجک وولٹیج اور اندر 5V ریگولیٹر کی تفصیل ہے۔
اکثر پوچھے جانے والے سوال
L298N کتنا وولٹیج کھاتا ہے؟
L298N اپنے سوئچوں میں تقریباً 2V کم کر دیتا ہے، اس لیے موٹروں کو بیٹری سے تھوڑا کم وولٹیج ملتا ہے۔
کیا L298N سٹیپر موٹر چلا سکتا ہے؟
جی ہاں، بائی پولر سٹیپر دونوں H برج استعمال کرتی ہے، ہر کوائل کے لیے ایک۔